Why This Matters More for Pet Owners
Pet owners are statistically more vulnerable to deposit disputes at move-out because landlords have a ready-made explanation for any pre-existing damage: "the pet did it." A scratch on the hardwood floor that was there before you arrived becomes "the dog scratched the floor" in a dispute without documentation. A stain in the carpet that existed when you moved in becomes "cat urine" without your move-in photos.
The burden of proof in security deposit disputes generally falls on the landlord to prove that damage is beyond normal wear and tear, caused during the tenancy. But in practice, without your own documentation, "I didn't do that" is hard to prove — and the landlord's assertion that your pet caused it is easy to make. Move-in documentation shifts this dynamic entirely.
When to Document
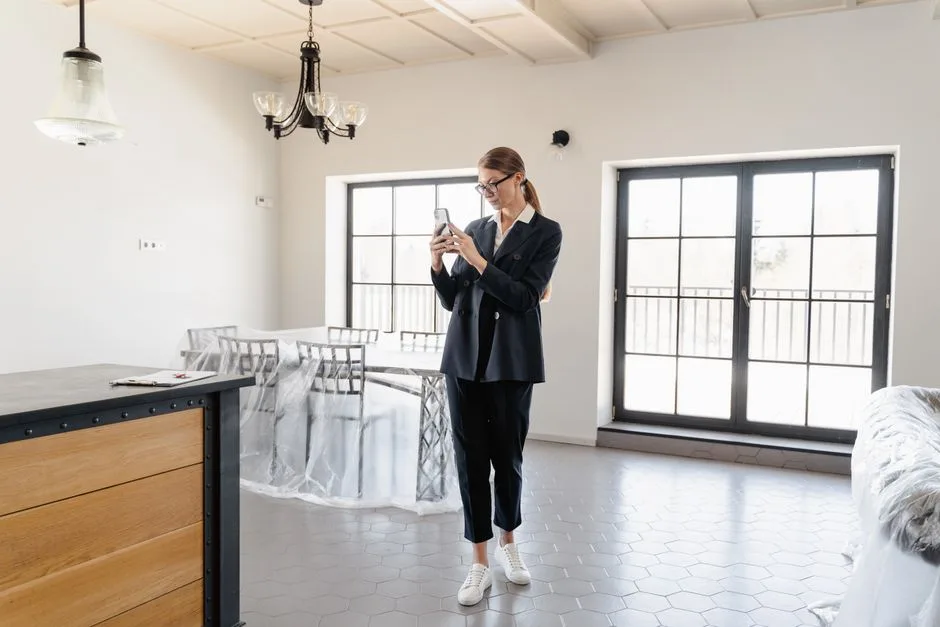
Before you bring anything into the unit — before furniture, before moving boxes, before your pet. An empty unit is easier to photograph completely and leaves no ambiguity about which surfaces you're documenting. If possible, do the documentation walkthrough the day before you move, during the key handoff.
If that isn't possible, do it the moment you have keys, before any of your belongings or your pet enter the space. The timestamp on your photos is your evidence — the earlier the better.
The Complete Move-In Documentation Checklist
Floors and Carpet
Take photos of every floor in every room, with multiple angles. Get close-up shots of any existing scratches, stains, fade patterns, or carpet pulling. Walk the carpet edges in every room looking for fraying, moisture staining, or existing pet odor. If you have a UV black light (inexpensive from Amazon), use it in the dark to locate any pre-existing pet urine deposits in the carpet — these glow yellow-green and are invisible in normal light. Photograph everything you find.
Walls and Baseboards
Photograph every wall in every room. Get close-ups of any marks, scuffs, holes, paint chips, or damage. Baseboards specifically — existing scratches or chew marks. Document the condition of lower wall sections (the zone most likely to be affected by dogs rubbing against walls).
Doors and Door Frames
Every door — both faces, and the door frame. Existing scratches at dog height (below 18 inches) are particularly important to document because these will be the first area a landlord checks when assessing dog damage at move-out.
Windows and Window Sills
Any existing damage to window frames, scratched screens, or marks on sills. Document existing broken mechanisms or stuck windows — these can be misattributed to pet behavior later.
Kitchen and Bathroom
Any existing water staining, damage to cabinet corners (chew damage from previous tenants), or odors. Tile condition and grout. Under-sink areas where previous water leaks may have created conditions that develop odor.
Smell
If the unit smells of pet odor, cigarette smoke, mold, or any strong odor source at move-in, document this in writing immediately. Take a short video walking through the unit noting the odors verbally. Send written note to landlord within 24 hours: "The unit had a noticeable pet odor in the living room and hallway at move-in. Please confirm receipt of this note."
The Written Record
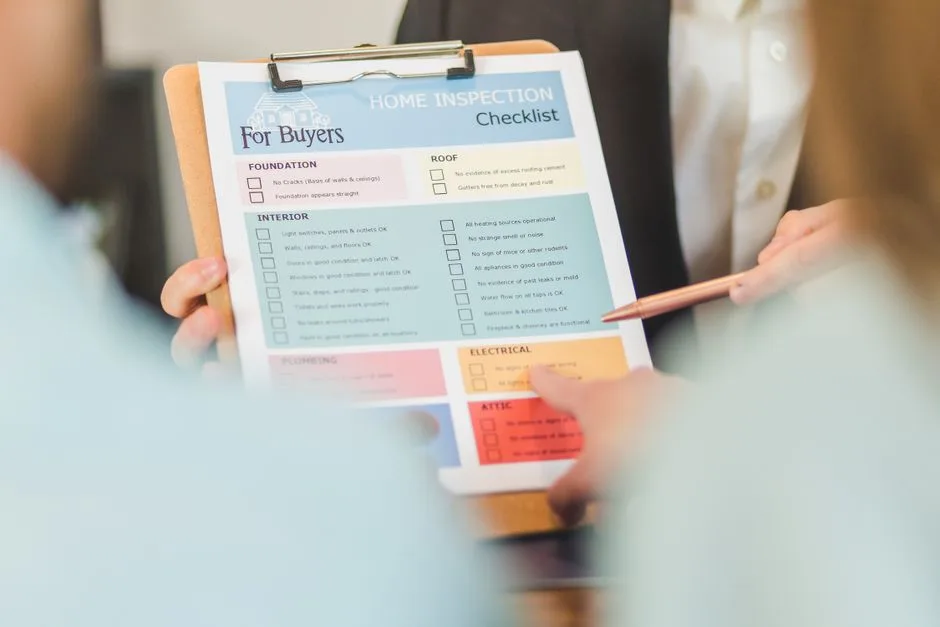
Photos are your primary evidence. Written records are your secondary support. A move-in checklist noting the condition of each room with specific pre-existing damage listed is the standard format. If your landlord provides a move-in checklist, fill it out completely — don't leave sections blank. If it doesn't capture something important, add a written note and sign it.
Within 24–48 hours of move-in, send your landlord an email: "I'm attaching photos from our move-in documentation and wanted to note a few pre-existing conditions for our records: [list conditions]. Please confirm receipt." This creates a timestamped, written record that your documentation was shared with the landlord at move-in — making it extremely difficult for a landlord to claim later that these conditions didn't exist before your tenancy.
Store your documentation in cloud backup (Google Photos, iCloud, Dropbox) immediately. Keep it until your deposit is fully returned after move-out.
A UV black light purchased for $10–15 on Amazon will reveal pet urine deposits in carpet that are invisible in normal light. Using it during your move-in documentation walk-through can document pre-existing odor conditions before your pet ever enters the unit — invaluable protection against being charged for a previous tenant's pet's odors at move-out.
What to Do With the Documentation at Move-Out
At move-out, repeat the exact same process — same rooms, same surfaces, same format — and compare the two sets of photos. Any condition that appears in both the move-in and move-out photos is pre-existing. Any new condition is your responsibility (subject to normal wear and tear rules). This comparison is your defense if the landlord claims damage that was actually pre-existing. See our security deposit recovery guide for what happens if a landlord makes claims you dispute.